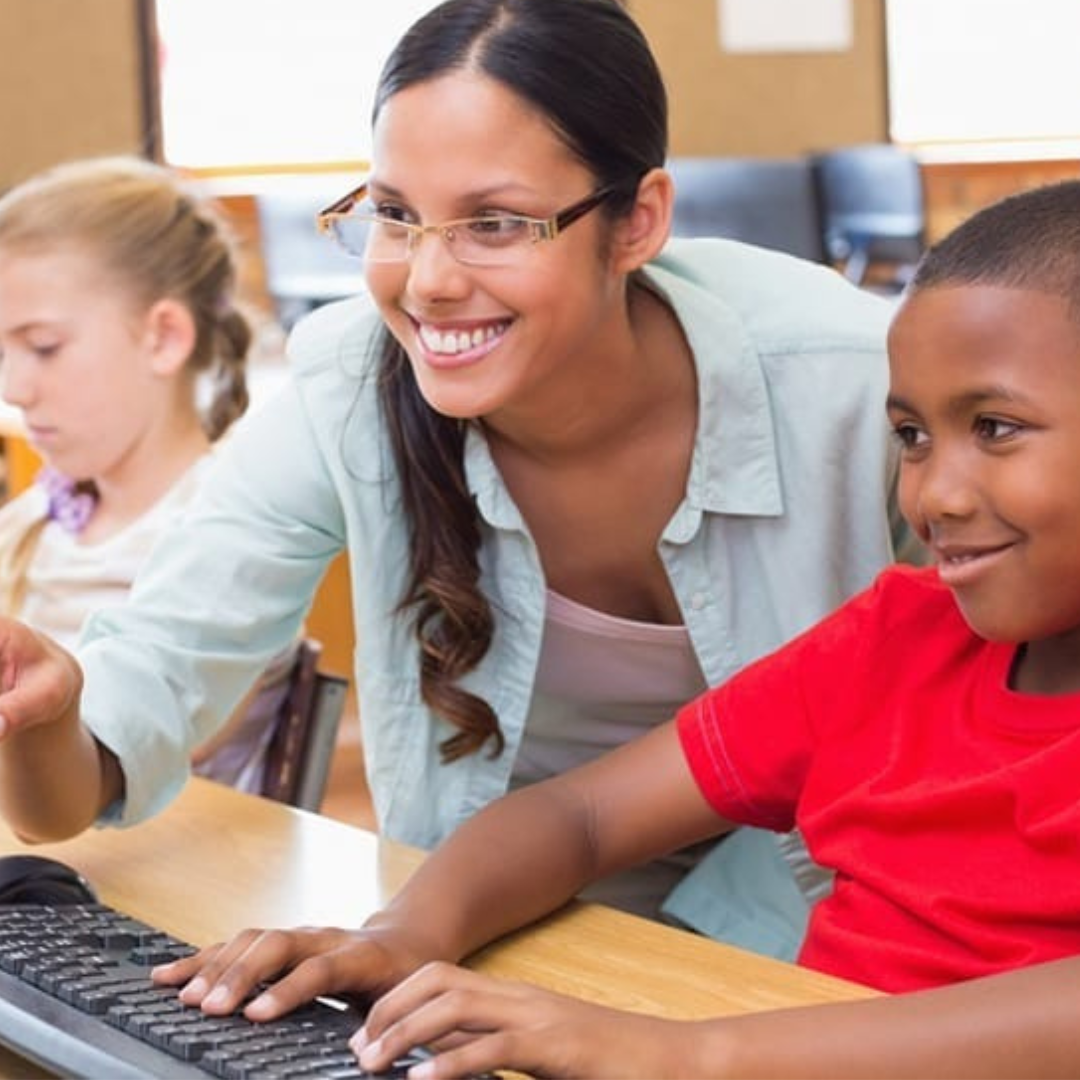

As keyboarding teachers, we all know the benefits of touch typing and want to pass on these benefits to our young learners. An individual who is a master at touch typing is faster, more accurate, and therefore more productive. In addition, using proper technique reduces mental and physical fatigue. Here are a few things to keep in mind when teaching a group of new students how to correctly touch type.
Emphasize Technique- Let students know they will be evaluated on technique so that they begin to value practicing proper technique.
- Help students set goals for technique and letter mastery to give them something to work for.
- Students who lose their place often may be looking at their fingers. Looking away from the copy makes the student less efficient.
- Ask students who are watching hands what sense they are not using (sense of touch).
- Have students practice finding the home row by feeling for the “bump” or “ridge” on the “F” and “J” keys without looking.
- Identify the "name" of each finger: Left pinkie "A", left ring "S", left tall "D", left pointer "F". Right pinkie ";", right ring "L", right tall "K", right pointer "J".
- Space with the right thumb only.
- Remember, home row keys are keyed with the tip of the finger.
- Demonstrate these reaches to the students. This can be done on an overhead or at a keyboard.
- Reaches on the top row should be keyed with the ball part of the finger.
- Reaches on the bottom row should be keyed with the nail part of the finger with the exception of "B" and "N".
- NOTE: "G, H, B, N" are keyed with the ball part of the finger.
- It is difficult to always know what all ten fingers of each student in an entire class are doing, so make use of peer feedback.
- Peer feedback can be used to allow students to take ownership of evaluation and to check for understanding of instruction.
- The cause of an error is more important than the fact that the student made a mistake.
- Many errors are the symptoms of poor keyboarding technique, wrong finger curve, eyes not on copy, poor posture, etc. Gently correct technique errors as they are observed.
- Challenge students to avoid using the backspace or delete keys to correct errors.
- Help students see their progress immediately.
- In the beginning, measure progress in terms of perfecting technique, rather than by increasing speed.
- Praise students when they are using correct technique.
- Keep in mind that reflective thinking aids the learning process. For example, discuss the new letter(s) and keystroke(s) learned.
- End the day with "eyes closed" dictation or, if using the KeyMaster Learning Lights Keyboard with “lights off”.